In the previous post, I implemented normal and parallax mapping and worked through the TBN matrix. This time I continued with HDR and Bloom.
Advanced Lighting—HDR
Floating-point framebuffer
- On a typical screen, each pixel’s color is limited to the range 0–1, called LDR (low dynamic range).
- Lighting calculations do not actually expect the output to stay between 0 and 1. We need a larger range to represent different light intensities, especially in the PBR era.
- First, the Pixel Shader must be able to output values greater than 0–1, so we change the framebuffer. The default
GL_RGBAhas 8 bits per channel, ranging from 0–1. Changing the internal format toGL_RGBA16ForGL_RGBA32Fmakes the framebuffer floating point, allowing a Pixel Shader rendered into it to store HDR values.
Let us experiment immediately after making the change.
Set up eight lights, each outputting a random color whose channel values range from 0 to 3.
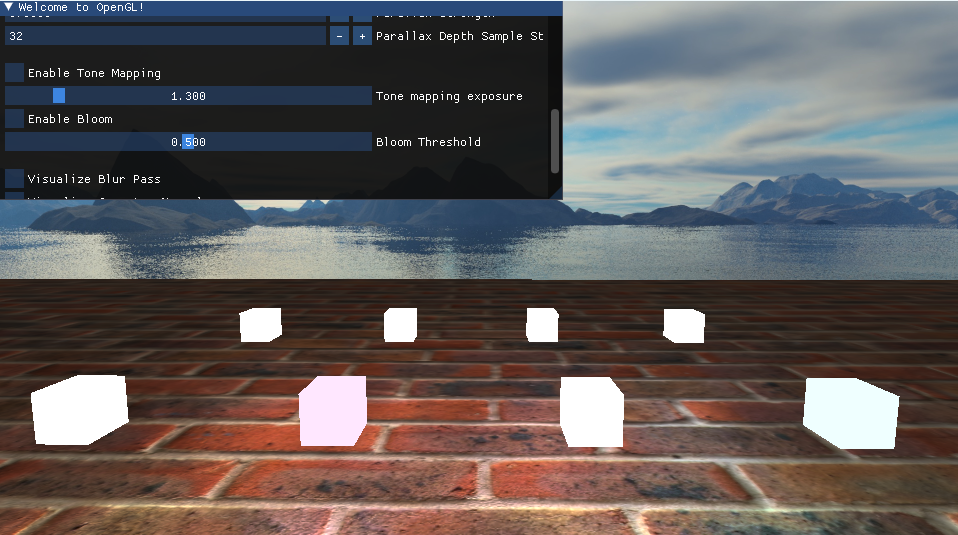
Almost everything except the second light from the left is white. The framebuffer supports HDR values now, but the screen itself is still LDR.
- Changing only the framebuffer is not enough. After a floating-point framebuffer lets the Pixel Shader output HDR colors, we must use tone mapping to remap the entire HDR image into the LDR range before displaying it on the screen.
Tone mapping
Tone mapping remaps HDR values into the range 0–1. There are many formulas; in this small project I copied the LearnOpenGL code.
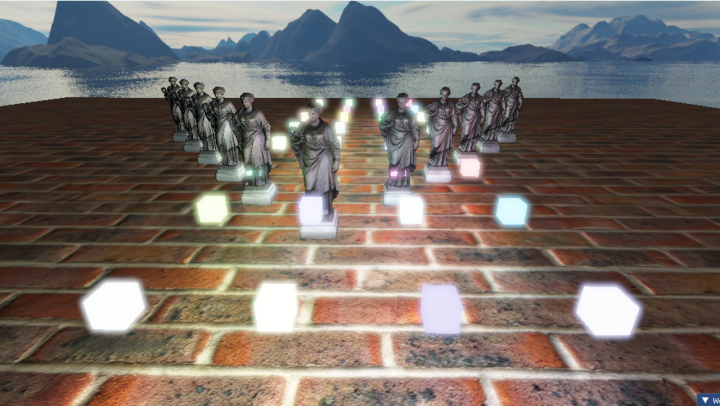
Testing the scene with the eight lights again now shows the different colors of each light.
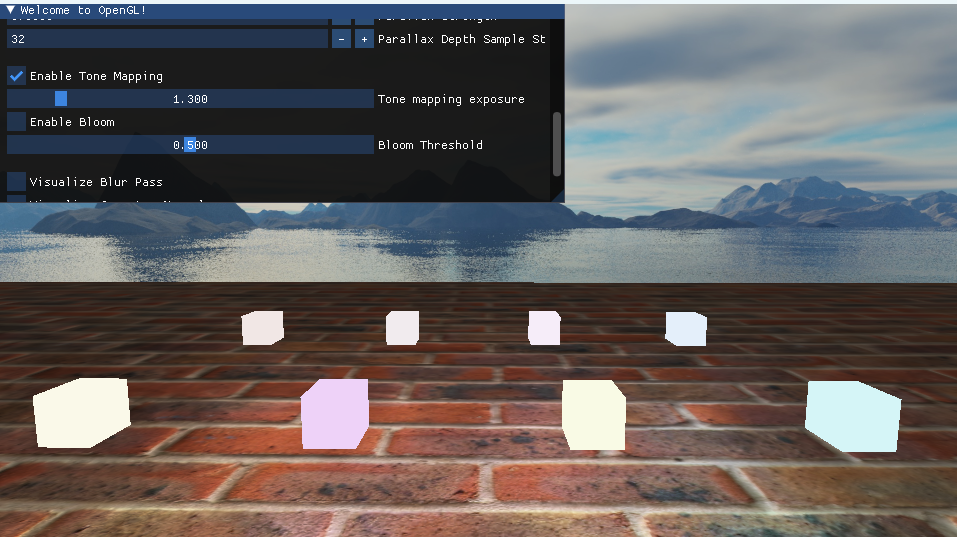
The HDR rendering process is therefore:
Pixel Shader outputs to an HDR-capable framebuffer
→
Return to the default framebuffer, use the HDR framebuffer as a texture, and draw it on a full-screen quad while tone mapping it back into the 0–1 range
→
Gamma correction
→
Display on the screen.
Trying different tone mappings
UE uses Filmic Tone Mapping, while Unity provides two options, Neutral and ACES. I do not particularly like either one, but if we have a formula, adding it as a post effect is easy. I previously tried the curve used by Road 96 in a Unity toon-rendering project; someone has already implemented it in Unity as GT-ToneMapping, and the result is good.
This note is short, but tone mapping is an extremely important part of modern game rendering. A suitable tone mapping curve can improve an image by more than one level. Even an ugly Unity project can look much better instantly with a suitable LUT and tone mapping. The developers of Ghost of Tsushima also introduced different tone-mapping and LUT combinations for different environments in their SIGGRAPH presentation.
Advanced Lighting—Bloom
After implementing HDR in LearnOpenGL, I implemented the Bloom post-processing effect that was once heavily overused. Bloom spreads the colors of bright objects outward into a glow, making the objects appear even brighter.
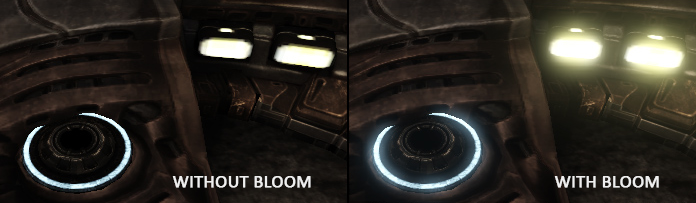
Bloom in UE.
Bloom is not tied to HDR; it can be implemented without a floating-point framebuffer. However, Bloom works very well with HDR: HDR image → Bloom → tone mapping prevents overexposure and keeps overexposed regions from becoming too large.
Implementation
The principle of Bloom is very simple: output the parts that should glow to another texture, blur that texture, and overlay the blurred texture on the image. The process is shown below.
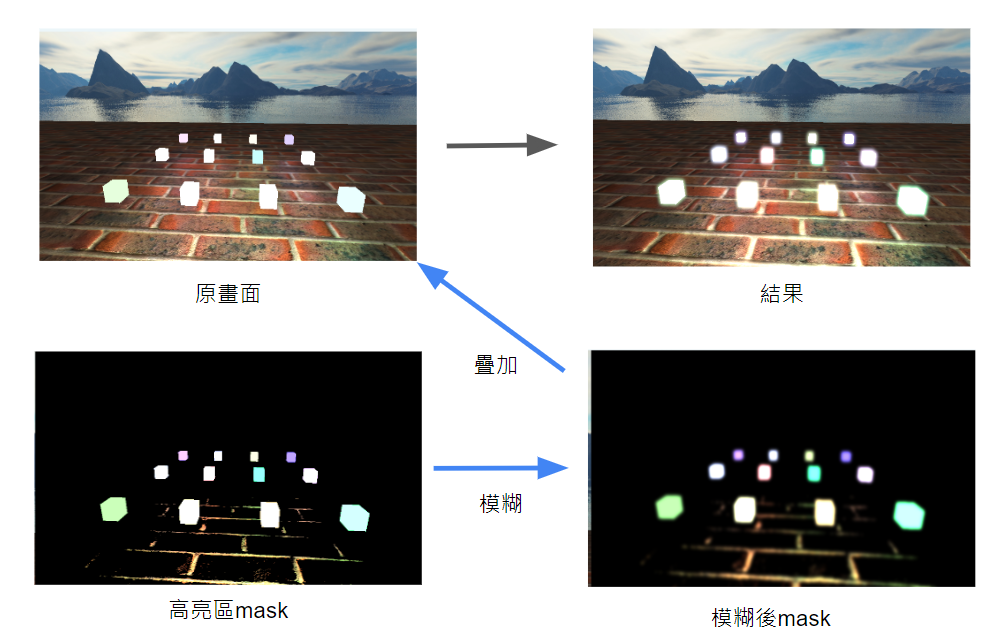
Two parts of the implementation need special handling: drawing the bright-region mask and implementing the blur.
This chapter uses MRT (Multiple Render Targets) to draw the mask. Bind two output render targets to the framebuffer object, so there is no need for an extra pass to draw the mask. After binding the framebuffer, define multiple out variables in the Pixel Shader and send the results to different render targets.
MRT
OpenGL code:
The Pixel Shader can define multiple outputs:
Finally, convert the screen color from RGB to luminance to decide whether it enters the mask.
The formula is explained on Wikipedia. For a more manual approach, the mask value could be stored in vertex colors or a texture to specify the Bloom range.
In Unity URP,
ConfigureTargetaccepts multiple render targets, which can be used to implement MRT.
Blur pass
Blur effects generally use a convolution kernel from image processing. For each pixel, sample surrounding pixels according to the kernel size, multiply each sample by its corresponding kernel weight, and add them all together. The result still sums to one. The following is a random kernel example. XD
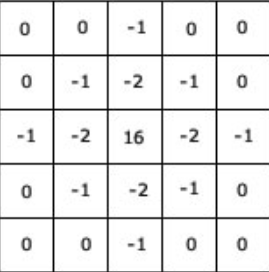
Gaussian blur uses a Gaussian kernel—we can simply copy the values from online. A Gaussian kernel can also be separated into one-dimensional passes. If a 5×5 kernel is completed in one shader draw, every pixel requires 5 × 5 samples. If the blur is split into two passes, one horizontal and one vertical, a complete blur requires only 5 + 5 samples per pixel, saving a great deal of performance.
Two-pass processing is a common GPU technique. Compared with one huge
forloop, splitting the calculation into multiple passes can sometimes fit GPU characteristics better.
After running the Bloom mask through this loop, we have the blurred result.
For HDR, combine it with tone mapping and the image is complete.
Conclusion
The key factor affecting Bloom’s performance and result is the blur method. There are many approaches; see this summary by Yunxing Mao. UE4 has also introduced an FFT-based Bloom in recent years that can even control the shape of the glow; it is impressive.
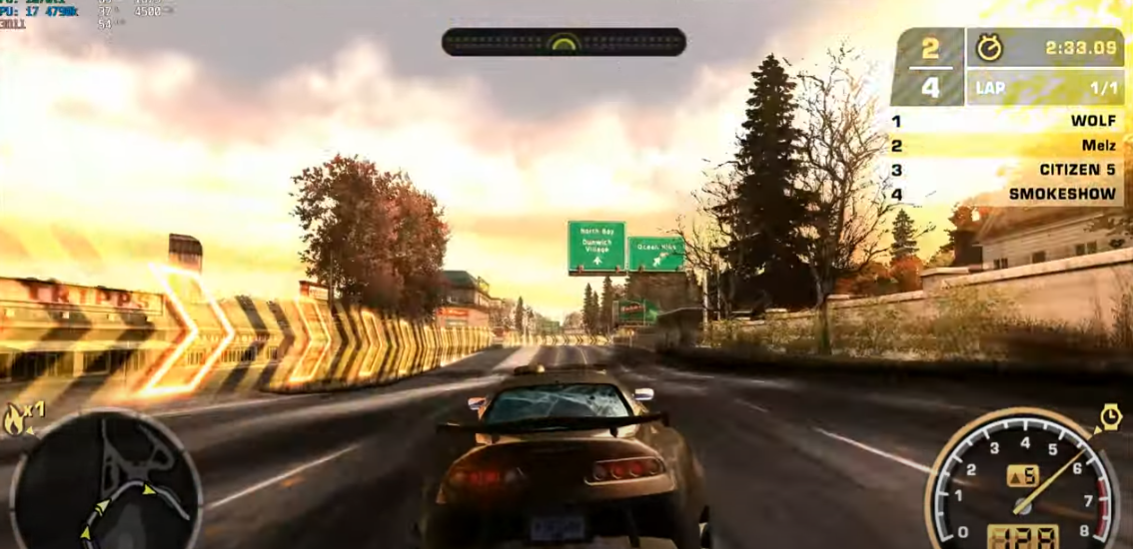
Finally, a memorial to the era when Bloom was overused: a game screenshot from Need for Speed: Most Wanted (2005).
References:
https://learnopengl.com/Advanced-Lighting/Bloom
A summary and implementation of ten high-quality post-processing blur algorithms