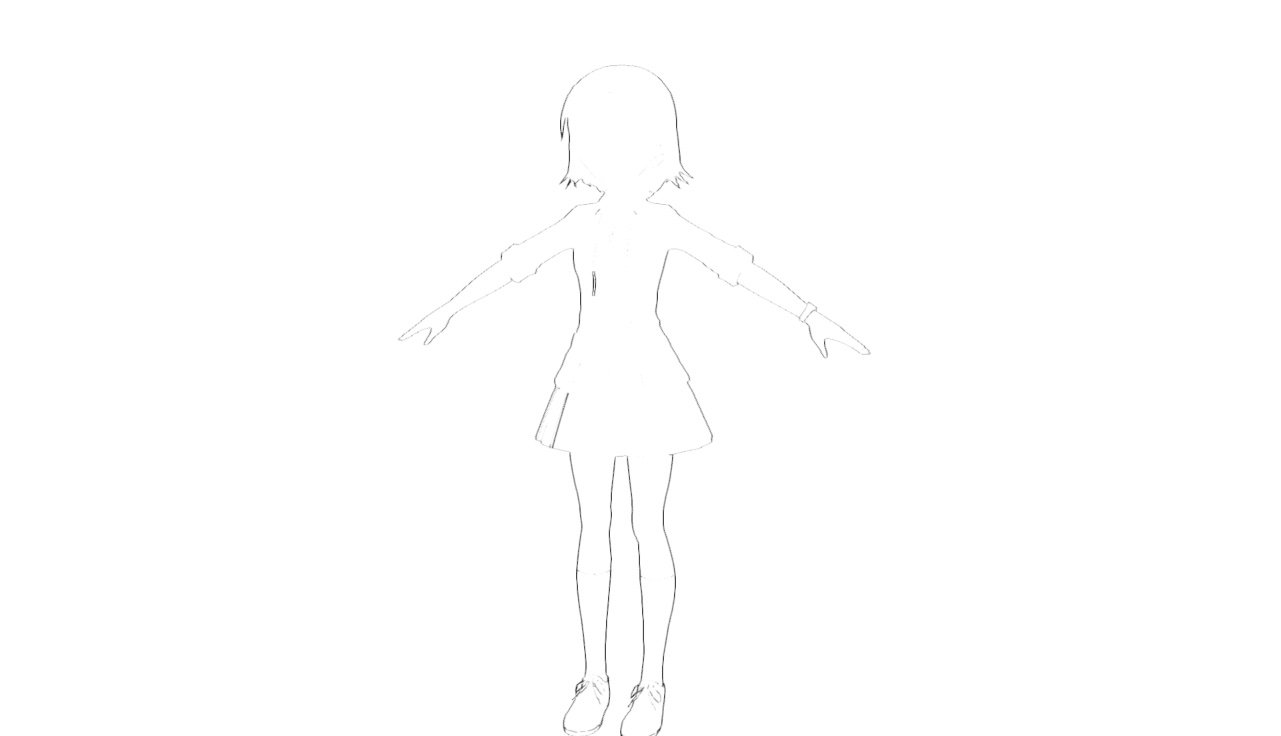
〰️ 14. Screen Space Outline Setup Guide
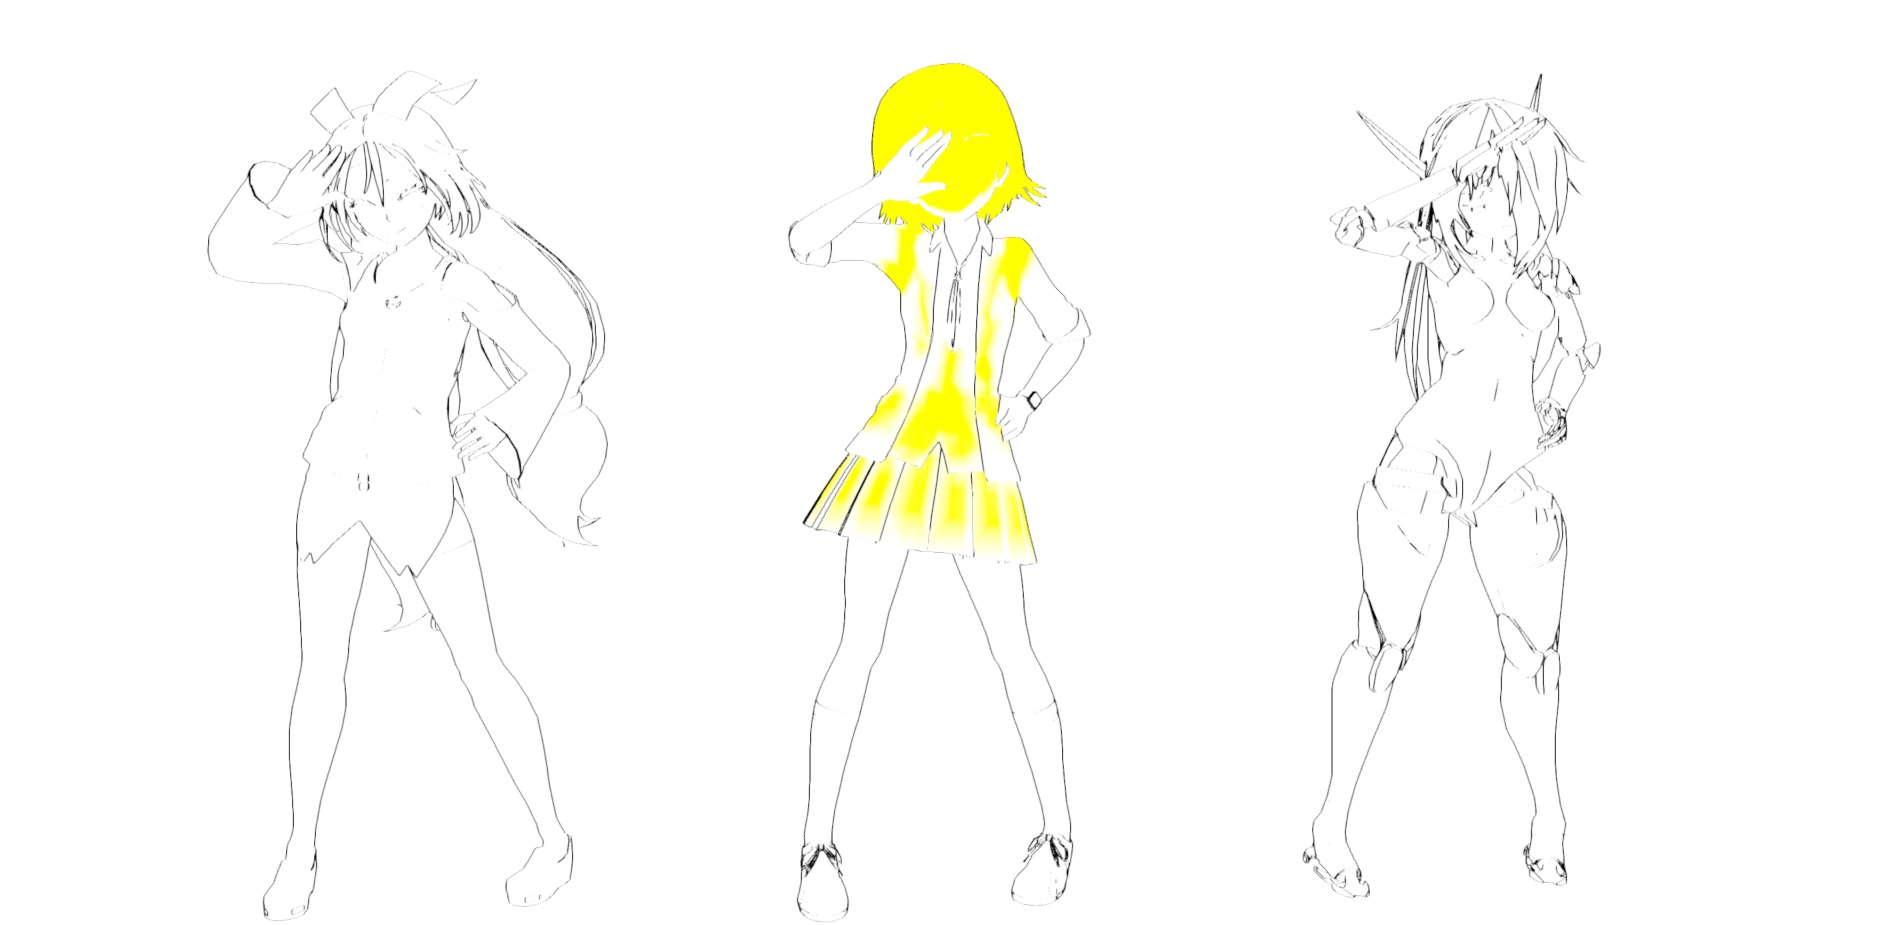
The image above shows the debug mode, which only displays the outline and the mask (yellow pixels) used to control outline visibility.
1. Adding the Outline Renderer Feature and Volume Override
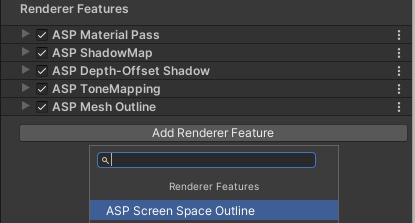
- In the Universal Renderer Data asset used by your project, add ASP Screen Space Outline.
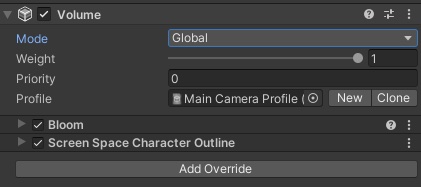
- In the scene, add a new Volume (or use an existing one) and set it to Global.
- In the Volume inspector, choose Add Override, search for ASP Screen Space Outline, and add it.
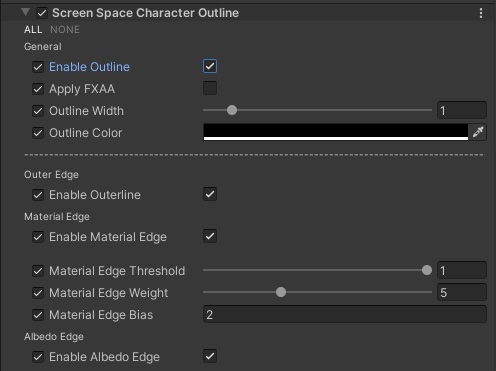
- Your Volume should now look similar to the screenshot below, with Screen Space Character Outline visible.
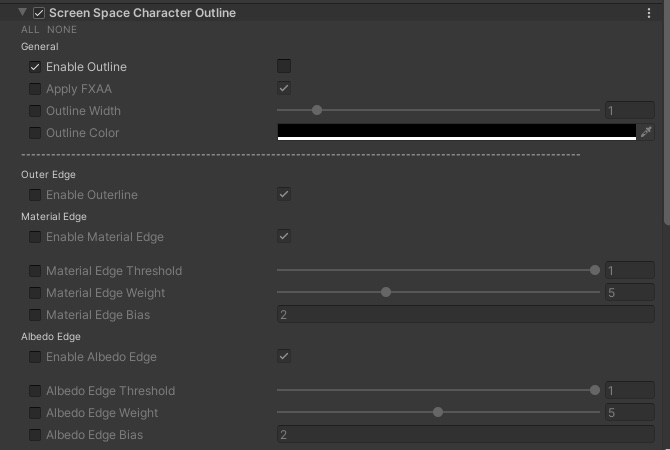
- Expand Screen Space Character Outline in the Volume to see the outline parameters.
What do these parameters mean?
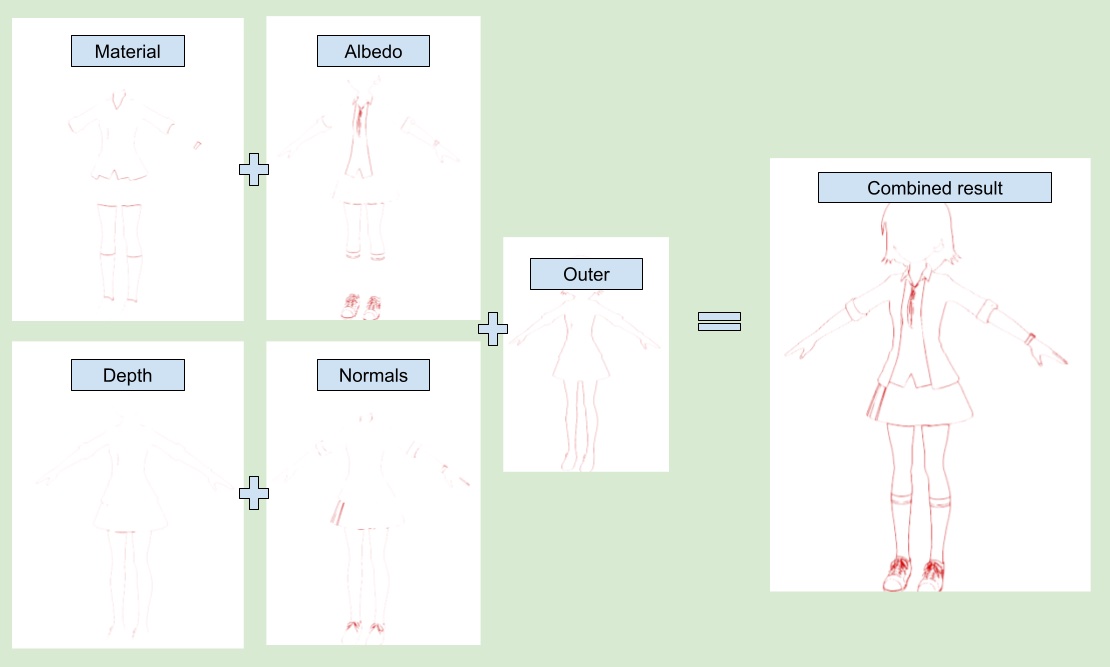
ASP's current screen space outline is mainly built from four edge detection results:
Material Edge
Albedo Edge
Depth Edge
Normals Edge
Depending on the needs of your project, these four edge types can be combined to render character outlines in screen space.
Enable Scene Object Outline also allows non-ASP scene objects to receive screen-space outlines, mainly through depth and normals-based edge detection.
ASP screen space outline still supports using the mesh's vertex color B channel as an extra mask for ASP character pixels.
Distance Falloff is now used to fade the final outline based on camera distance.
What do the toggles on the left mean?
Unity's Volume system uses Volume Override.
In short, the toggle on the left must be enabled before the value on the right takes effect. Otherwise, the post-processing effect will keep using its default value.
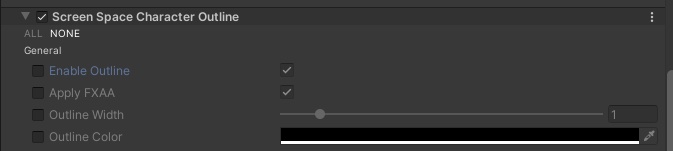
Please note that Enable Outline currently defaults to false.
That means adding the renderer feature to the renderer data is not enough by itself. In the Volume, you still need to enable the override for Enable Outline and set the value on the right to true.
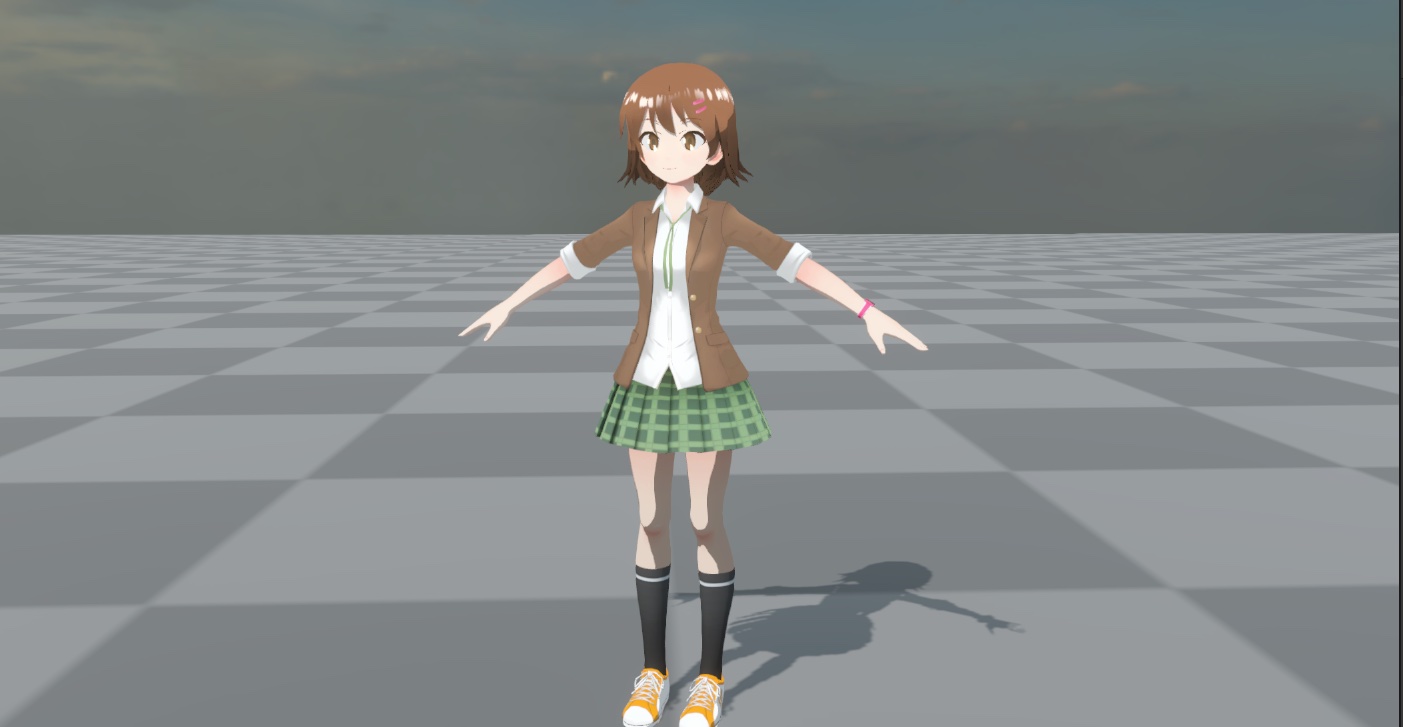
2. Adjust the Edge Detection Parameters of Screen Space Character Outline
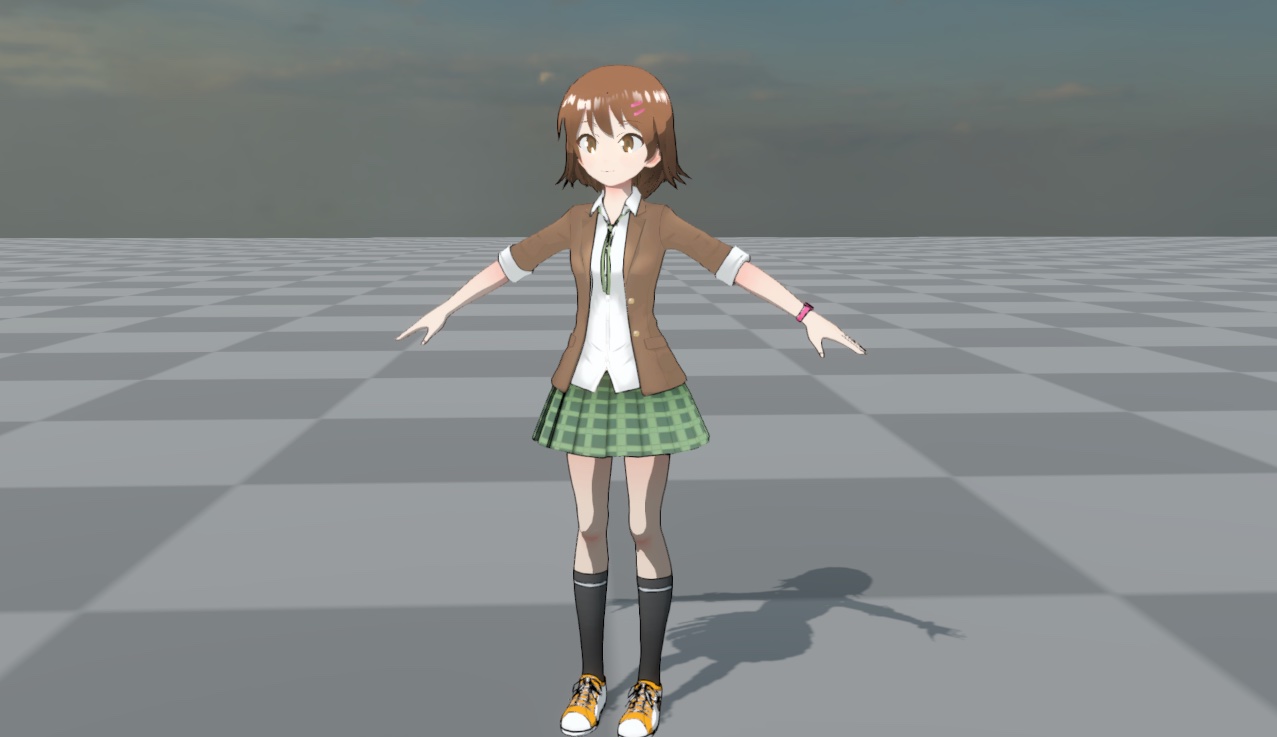
The character below is used as the example model for outline setup:
- First, make sure the outline is enabled in the Volume. For convenience, click ALL in the upper-left corner so every override toggle is enabled. This makes the current Volume parameters take priority over defaults.
- In the Debug category at the bottom of the panel, set Enable Debug Mode to
true.

This enables the outline debug mode. The camera output now shows the selected debug background plus the current outline in the outline color.
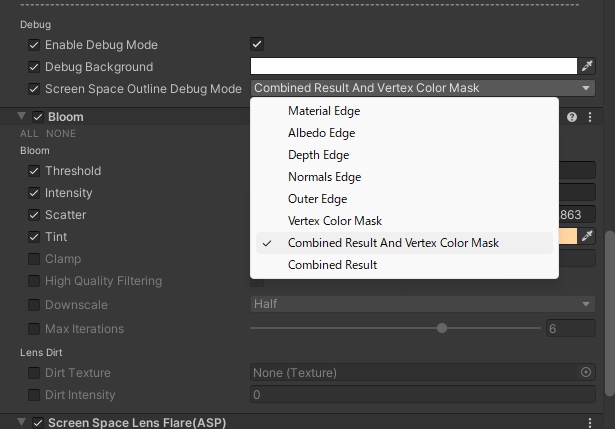
- Under the Debug category, use Screen Space Outline Debug Mode to display a specific edge type, then adjust the corresponding threshold until the result looks right.
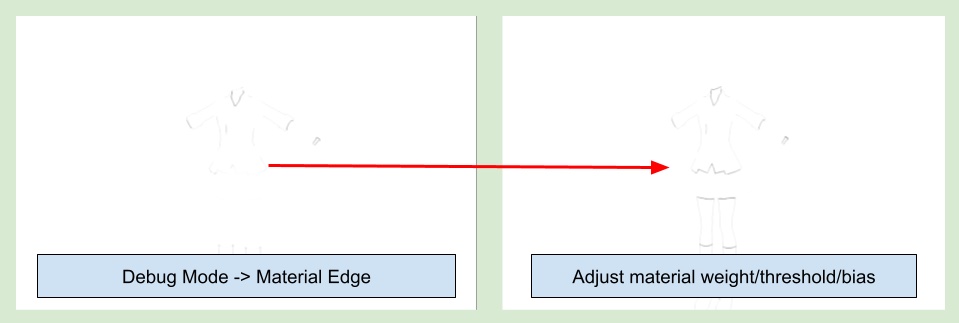
The currently available debug modes are:
Material Edge
Albedo Edge
Depth Edge
Normals Edge
Vertex Color Mask
Combined Result And Vertex Color Mask
Combined Result
- After adjusting each edge type individually, set Screen Space Outline Debug Mode to Combined Result to preview the combined result of all enabled edge types.
Finally, turn off Enable Debug Mode to view the final rendering result.
💡
Material EdgeandAlbedo Edgedepend on ASP character material pass data, so they only affect ASP character pixels.Enable Scene Object Outlinemainly changes how non-character scene geometry is outlined throughDepth EdgeandNormals Edge.
3. Adjust Distance Falloff
One of the biggest challenges of screen-space outlines is that outline visibility does not naturally scale with distance. With the same settings, distant characters can end up looking too heavily outlined.
To keep the result more consistent, ASP now provides a unified Distance Falloff workflow. After enabling Enable Distance Falloff, use Distance Falloff StartEnd to define where the outline starts fading and where it becomes fully faded.
This setting directly affects the final visibility of the outline. The current workflow no longer separates color, weight, and width fading the way older docs described. Instead, it uses a simpler overall distance-based fade for the final result.
💡 A practical workflow is to first tune the close-range outline until you like it, then use Distance Falloff StartEnd to control how strongly it fades in the mid and far range.
4. Adjust Outline Visibility Using Vertex Color
Besides the global settings in the Volume, ASP still lets you further control outline visibility through the B channel of the mesh vertex color.
Set the debug mode in the screen space outline volume to Vertex Color Mask or Combined Result And Vertex Color Mask.
This lets you inspect both the final outline and the current vertex color B distribution.
For example, when vertex color.b = 0, the outline will not appear at all on that area. When the value is 1, no extra masking is applied.
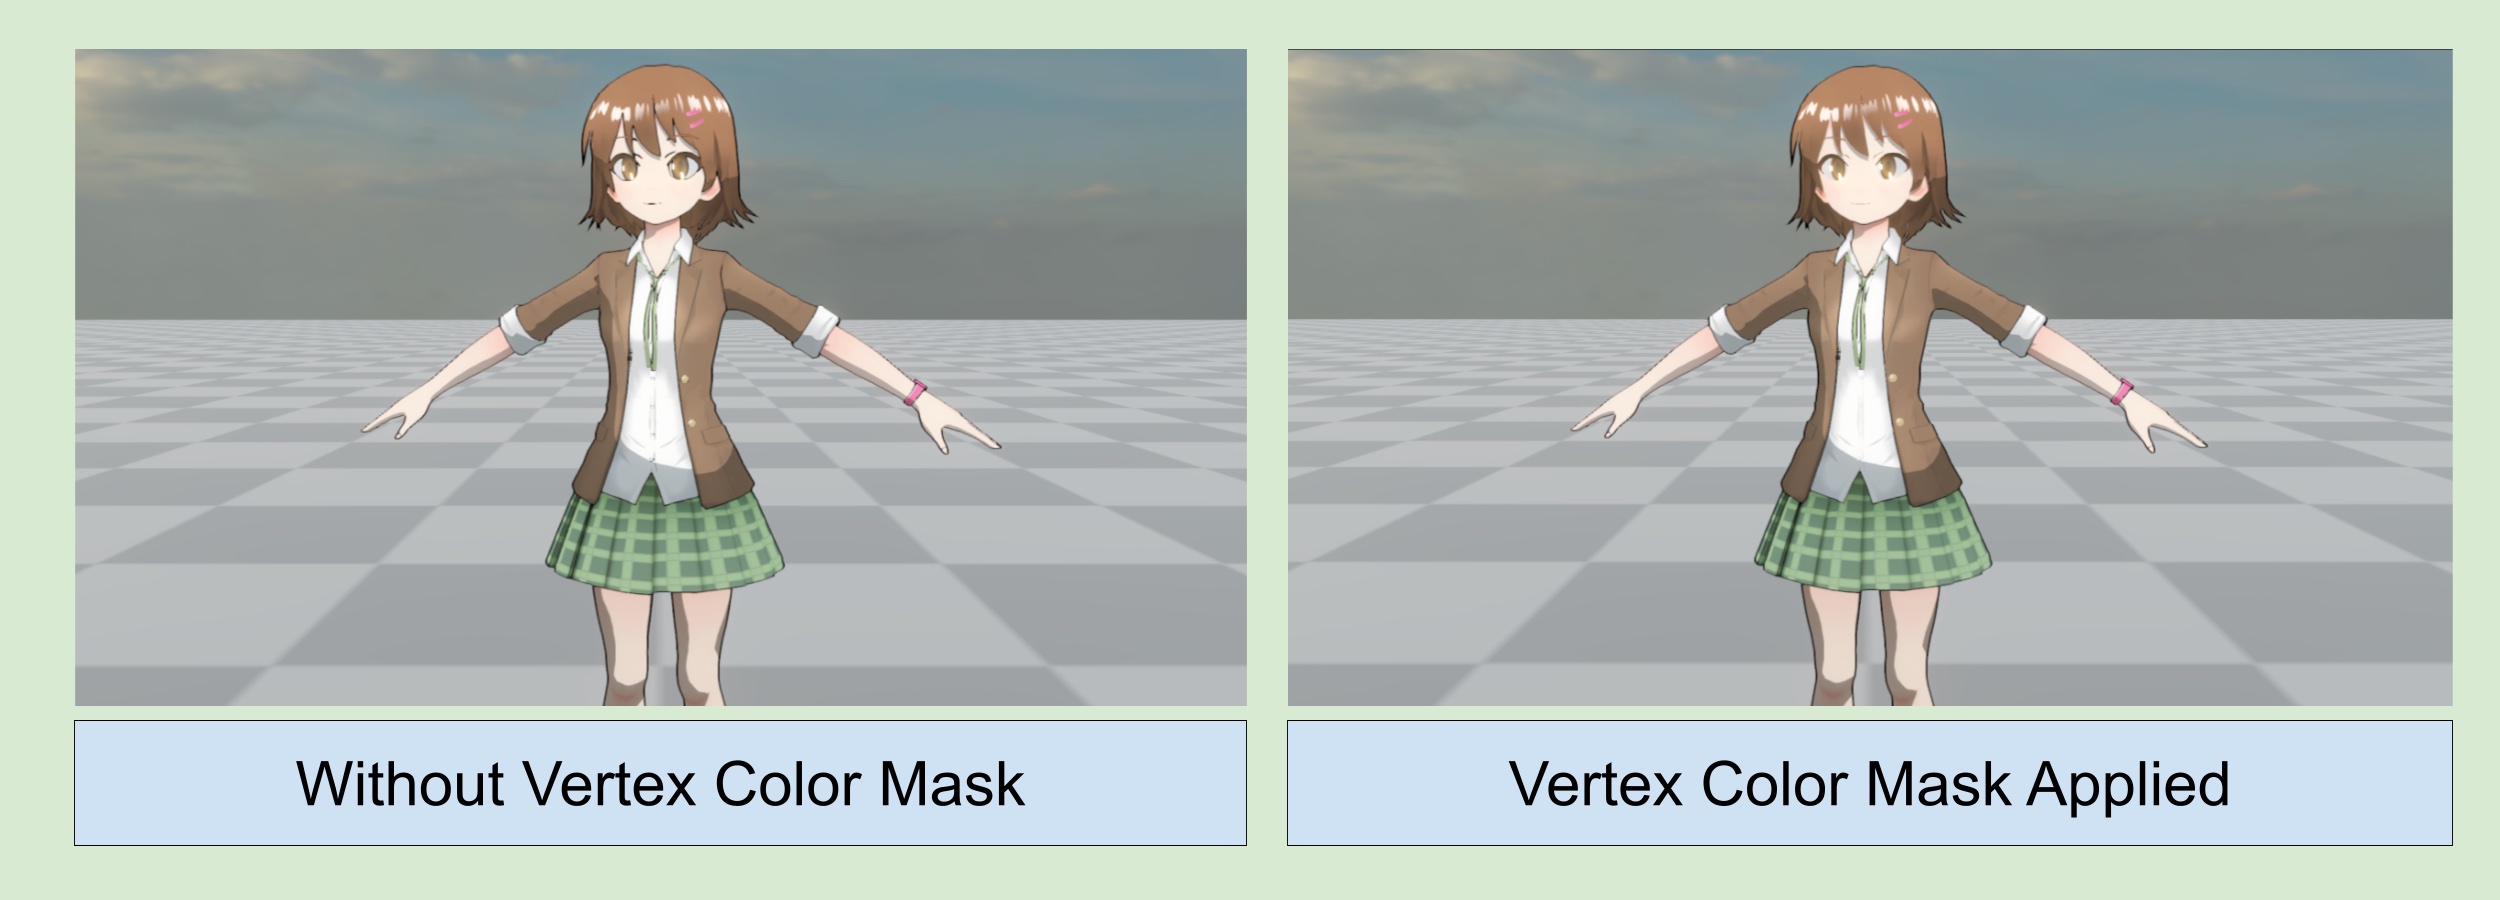
Then, in your DCC tool (for example Blender or Substance Painter), adjust the vertex color B channel in the areas where you want to reduce or remove the outline, and check the result again in Unity.
💡 The vertex color mask only affects ASP character pixels. If Enable Scene Object Outline is enabled, non-character scene geometry does not read the character mesh's vertex color B channel.
⏭️ Go to next page 〰️ 15. Object Space Outline Setup / Smooth Normal Bake Flow